


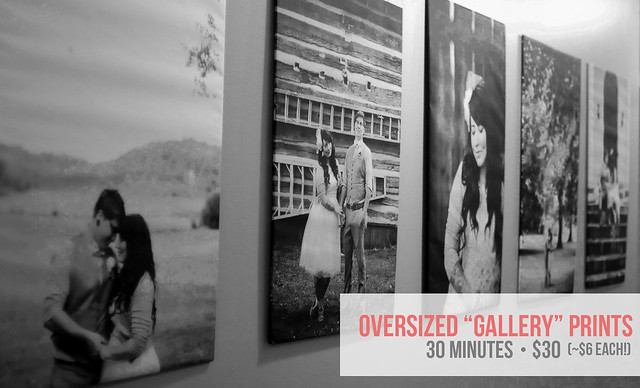
Mike and I are creeping up on our one year anniversary (under 2 months away!) and we have yet to really print any wedding photos. I thought for sure I'd be crazily ordering prints left and right but I think I was just relieved for the wedding hype to die down a bit, ya know? Don't get me wrong - I love our photos and I had so much fun planning our wedding... but sometimes it's nice to take a step back and enjoy marriage for what it really is. Anyway, I've seen the oversized print images floating around Pinterest for well over a year now, and I finally got around to trying them for myself. Now, this idea is nothing new. I didn't come up with it or anything like that. I remember some design blogger mentioning it in early 2012. I've only looked at 1 or 2 "tutorials" however, and both of them called for Mod Podge and a wooden surface. Well, I like things to be nice and cheap. Their versions were neither of those things. Mike and I tried three or four different ways of "wrapping" the prints and this is by far the best version we experienced.
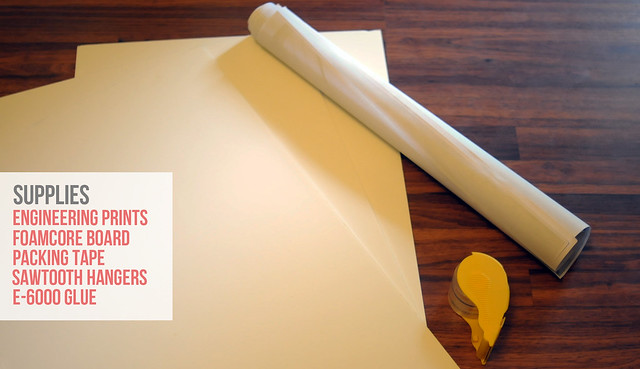
You'll be able to see below what the Mod Podge version looks like compared to our technique. It's not 100% perfect, but it's by far superior to yucky wrinkles and creases. All you need is some oversized engineering prints from Staples (~$5 each. They only come in black and white! Mine are printed on 24" x 36" paper), foamcore board (~$1.25 at your local Walmart or Target), some packing tape, and of course something to hang it with. We used sawtooth hangers since we had them on hand.
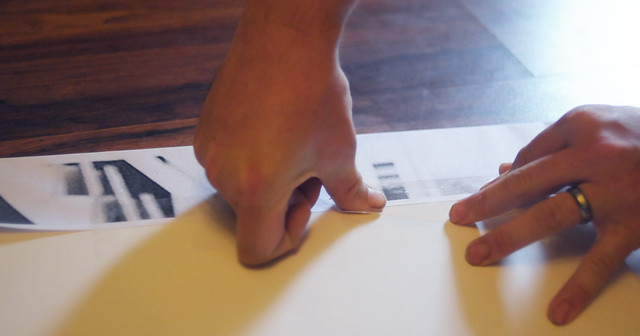
This "tutorial" is so simple I feel stupid calling it a tutorial ya know? The photos don't even do the process justice. Each piece only takes about 5 minutes (if that), but I'll say this: You should really have one more person helping! The tugging and taping is a lot easier with an extra set of hands! Step one: Lay your image down on your foamcore (our boards were 20" x 30") and decide where you want to align it. Ours weren't printed with the final size in mind so we had to usually do ours off-center. Flip the photo and board over and begin taping down the wrapped excess by pulling on the shortest sides first. Do one side and then push the board down and wrap the other. Tape them as tight as possible!

Step two: Envelope fold the corners of the two remaining sides (4 corners). This will give the wrap a nice crease at all 4 points. Be sure to fold the 2 corners of each side at the same time, then use 2 hands to pull the excess over the edge. This will ensure a tight wrap. Tape those puppies down!

Step three: Once you've wrapped your images, flip them over and attach your backing. We attached sawtooth hangers with E-6000, but you can get creative. The finished pieces are very lightweight so there are a multitude of options available. -- Then that's it! Hang and enjoy! It's sort of ridiculous how easy this is, but it makes such a difference! We outfitted our 12 foot hallway for right at $30. We also made a couple more for our bedroom. Canvas prints are often so expensive! This is a nice alternative. We have grey walls so the high contrast of black and white looks really nice in my opinion.
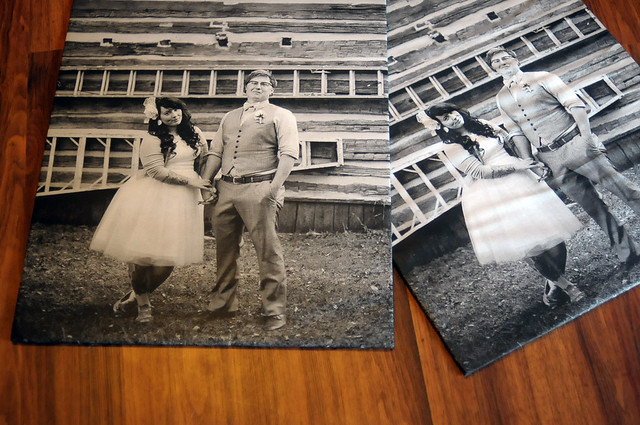
Above is a side by side comparison of the tape technique (left) and Mod Podge (right). It makes such a huge difference! The engineer prints are printed on very thin paper so you have to be extra careful when exerting any force with it. The beauty of the tape technique is that you can just slice off the tape with a utility knife if you want to toss out your print and use a new one.

Overall we're super happy with the finished product. We whipped up 8 of these puppies in under 30 minutes! I'm all about cheap home decor projects so I know we'll just swap these out with new images as time goes by. It'll be nice to have a rotating gallery of our own!
Just a heads up - You can order engineer prints online and in store! The 18" x 24" prints are only $1.79 each, and they go as large as 3' x 4' (for only $7.29!) This way you can try it out and not feel guilty about wasting money.
What do you think? Worth a shot in your place?
0 comments:
Post a Comment